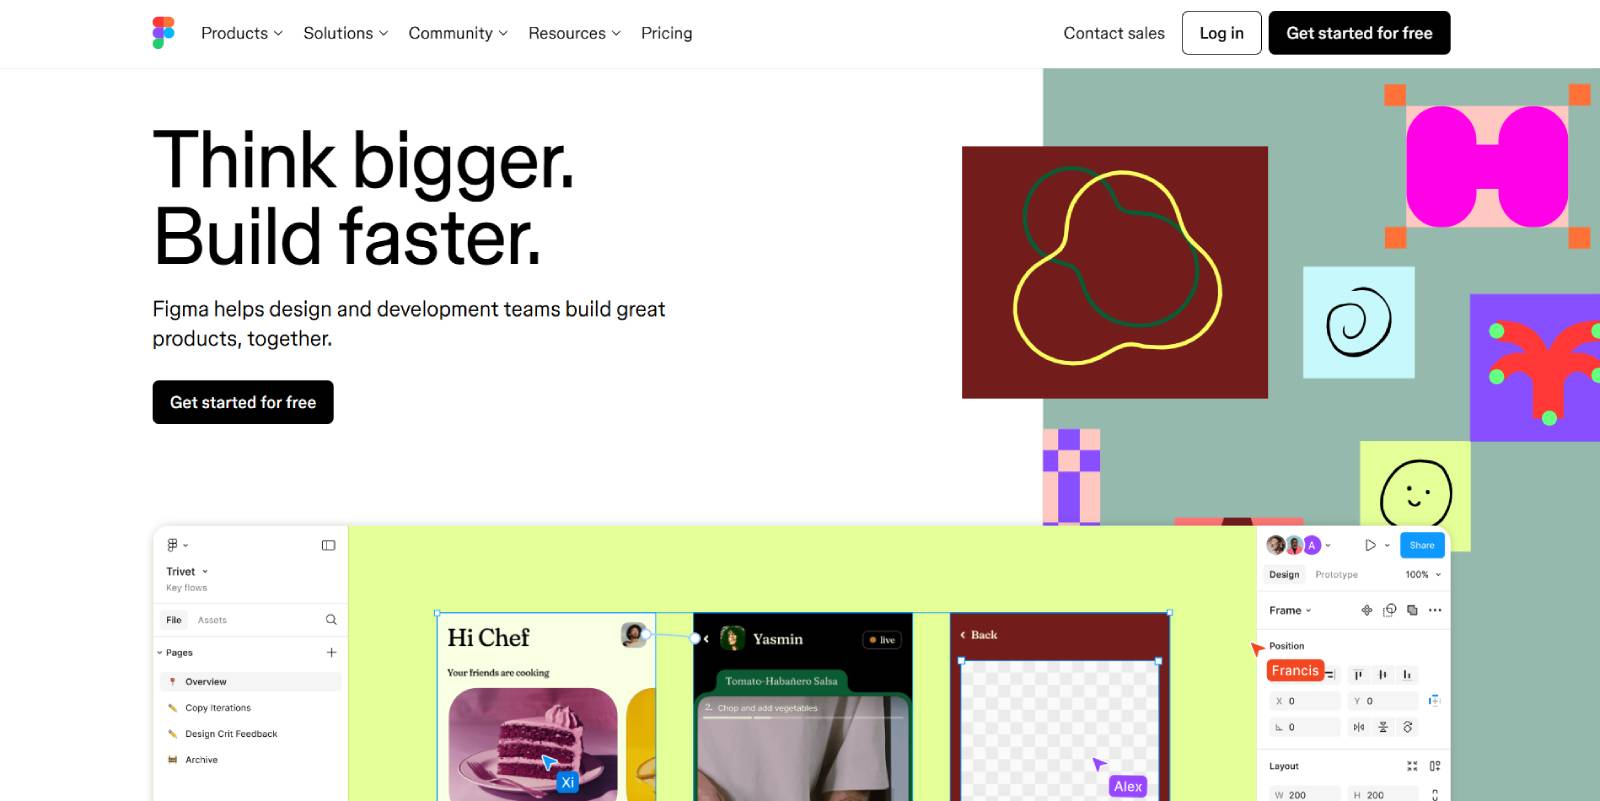
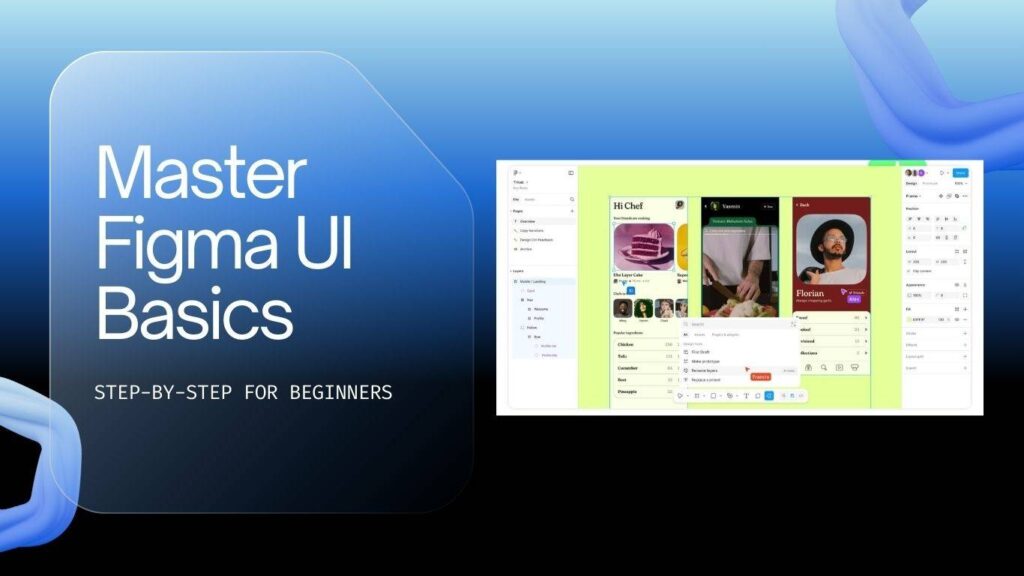
Are you ready to dive into the world of captivating UI/UX designs? Whether it’s for a website, an app, or any other design project, Figma is the tool that can help you bring your ideas to life. This blog will walk you through the entire process of using Figma, an incredible online tool that simplifies design for everyone, regardless of prior experience.

Why Choose Figma?
Figma stands out as a go-to design tool for many reasons. It offers seamless collaboration, enabling multiple users to work on a design simultaneously and provide real-time feedback. Furthermore, Figma has a mobile companion app, allowing you to preview your designs on your phone easily. Best of all? It’s completely free to use!
Creating Your Figma Account
Let’s get started by creating an account on Figma. Follow these steps:
- Click the link to get started with Figma.
- Sign up using your Google account or by entering your details.
- Once signed up, you’ll be directed to the Figma dashboard.
Congratulations! You now have your Figma account ready to go.
Designing a Website UI
Now that you’re in the dashboard, let’s create a UI design for a website. Here’s how:
- Click on “New Design File” to open the editing area.
- Select a frame for your design. Since we are designing for a website, choose the desktop frame.
- Once you have your frame, you can start creating sections. Use the shape tools to create different sections of your website.
- To change the color of a section, select it and click on the color option.
- Add text by selecting the text tool. You can change the font and size from the right panel.
- To add images, simply drag and drop from your computer into the canvas.
Repeat these steps to build your entire website layout, adding sections and content as needed.
Creating a Mobile App UI
Next, let’s design a user interface for a mobile app. Follow these steps:
- Create a new frame and select the iPhone 13 mini option.
- Just like with the website, you can use the same tools to design your app interface.
Figma also allows you to use templates to simplify the design process. Here’s how:
- Go to “Files” and click “Explore Community.”
- Search for UI design templates. For instance, if you’re creating a travel app, type “travel app.”
- Select a template you like and click on “Get a copy.”
Once you have your template, you can start editing it to fit your needs.
Editing Your Design
Editing your design is straightforward. Here’s how to make changes:
- To edit any element, double-click on it. A menu will appear on the right side where you can change colors, images, and text.
- For background images, select the image and upload a new one from your computer.
- To change the color of buttons or other elements, click on the element and select a new color from the palette.
- To add a brand logo, simply drag and drop the logo file from your computer.
Make sure to customize every element to reflect your brand’s identity.
Creating a UI Design from Scratch
If you prefer to create a design from scratch, here’s how:
- Create a new frame and name it appropriately, such as “Tour Details.”
- Add an image and text content as described above.
- For rounded corners on images, select the image, then adjust the corner radius in the design panel.
This gives your design a more polished and professional look.
Adding Navigation Icons
To improve user navigation within your app, you can add icons. Here’s how to add a navigation icon:
- Install an icon plugin in Figma, such as Iconscout.
- Search for the desired icon, select it, and insert it into your design.
- Adjust its position and color to fit your design aesthetic.
Creating Interactive Prototypes
One of the standout features of Figma is its ability to create interactive prototypes. To set this up:
- Select the element (like a button) that will act as a trigger to navigate to another frame.
- Click on the “Prototype” tab and drag the connection to the next frame.
- Set the interaction options, such as “On Click,” to define how users will navigate through your design.
This feature allows users to experience your design as if it were a live application.
Sharing Your Design
Once your design is complete, sharing it is easy:
- Click the “Share” button at the top right of the screen.
- Enter the email addresses of the people you want to share with, and set their permissions (view or edit).
- Send the invite.
Users will receive an email with a link to your design, allowing them to view or comment on it directly in Figma.
Downloading Your Design
To download your design:
- Select the frames you want to export.
- Click on “Export” in the right panel.
- Choose your desired file type (e.g., JPG, PNG) and click “Export.”
You can also export all frames at once by selecting them and following the same steps.
Conclusion
Figma is an incredible tool that simplifies the process of creating stunning UI/UX designs for both websites and apps. With its collaborative features and ease of use, you can bring your design ideas to life without the need for prior experience. Whether you’re creating from scratch or using templates, Figma gives you the flexibility to design and prototype effectively.
Now that you’ve learned how to navigate Figma, it’s time to start your design journey. Happy designing!
FAQs
Is Figma free to use?
Yes, Figma offers a free version that includes many essential features for designing and prototyping.
Can multiple people collaborate in Figma?
Absolutely! Figma allows real-time collaboration, enabling multiple users to work on the same design simultaneously.
How do I access my designs on mobile?
Figma has a mobile companion app that lets you preview your designs on your phone.
Can I download my designs in different formats?
Yes, you can export your designs in various formats, including JPG, PNG, and PDF.
Are there templates available in Figma?
Yes, Figma has a community section where you can explore and use various templates for your designs.


