Are you running a business but still lack a website? If so, it’s time to change that! Building a website from scratch can seem daunting, but Canva makes the process straightforward and accessible. In this guide, we’ll walk you through the steps to create your very own website using Canva, ensuring you don’t need any coding or technical skills to get started.

Why Choose Canva for Website Creation?
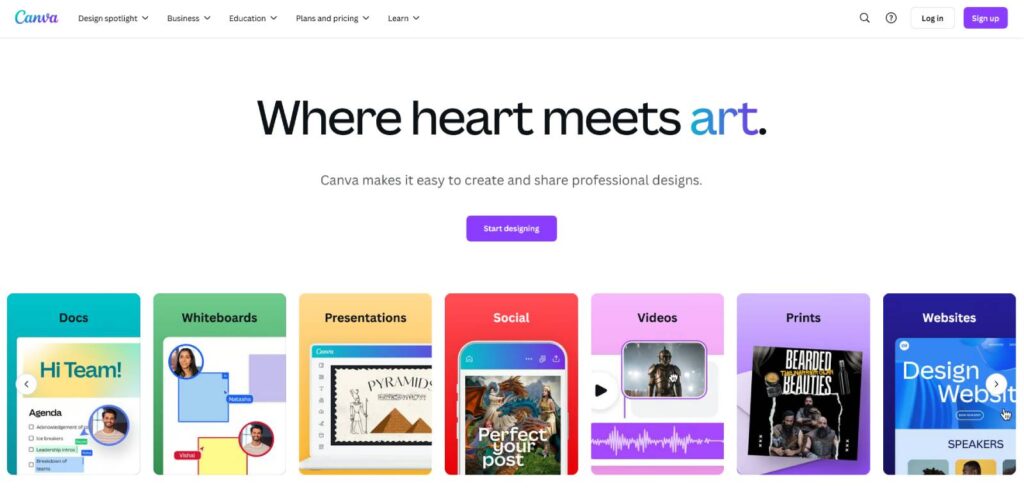
Canva is an excellent platform for those looking to create simple websites. It caters to individuals or small businesses that need an online presence without the complexities of more advanced tools. While there are many platforms available for website creation, Canva simplifies the process with its intuitive drag-and-drop functionality. This makes it perfect for beginners or anyone seeking a quick solution.
On the other hand, if you’re looking to develop a fully functional website, such as an e-commerce site or a blog with extensive features, WordPress is a better option. However, for creating a basic informational website, Canva is a fantastic choice.
Step 1: Creating Your Canva Account
The first step in creating your website is to set up an account on Canva. Here’s how to do it:
- Click the link provided to access the Canva sign-up page.
- Click on “Sign up for free.”
- Log in using your Google account.
Once logged in, you’ll be taken to the Canva dashboard, where your website creation journey begins.
Step 2: Choosing a Design for Your Website
With your account set up, it’s time to select a design template for your website. Here’s how:
- In the search bar, type “website” to see a range of website designs.
- If you have a specific category in mind, use the dropdown menu to filter your options (e.g., educational, business).
- Once you find a design you like, click on it to preview it.
- To use the design, click on “Customize.”
This will take you to the editing interface where you can start making changes.
Step 3: Editing Your Website Content
Now that you’ve chosen a design, it’s time to edit the content. Here’s how to do it:
- To change text, simply select the text box and enter your desired content. You can adjust the font size and style from the options available.
- To change images, click on the image you wish to replace, go to the “Apps” section, and then select “Photos.” You can either choose from Canva’s library or upload your own images by dragging and dropping them into the workspace.
This flexibility allows you to personalize the website to fit your brand.
Creating a Contact Section
Having a contact section is essential for any website. Here’s how to create one:
- Scroll down and click on “Add page.”
- Upload an image for the section and drag it into place.
- Add a title by dragging in a text box and entering “Contact Us.”
- For your contact details, use a smaller text box to provide your address or other relevant information.
With these steps, you’ll have a functional contact section ready for visitors.
Changing the Logo
Your logo is a critical part of your brand identity. To change it in Canva:
- Click on the existing logo and delete it.
- Drag and drop your logo from your computer into the designated area.
- Resize it as necessary to fit the design.
This simple process ensures your branding is consistent throughout your website.
Making the Menu Visible
A well-structured menu is vital for navigation. Here’s how to make the menu visible on your website:
- Click on the design settings and switch from “Without Navigation” to “With Navigation.”
- This will enable the menu items, allowing users to navigate through different sections of your site.
Ensure that the menu items reflect the titles of the sections you’ve created. If you’ve changed a section title, remember to update the corresponding menu item.
Animating Sections on Your Website
To add some flair to your website, Canva allows you to animate different elements. Here’s how:
- Select the section you want to animate.
- Click on “Animate” and browse through the available animation options.
- Choose your preferred animation to make your website more dynamic.
This feature can help draw attention to key areas of your website and enhance the user experience.
Publishing Your Website
After you’ve completed your design, it’s time to publish your website. Follow these steps:
- Click on “Publish Website.”
- You’ll be prompted to choose between a free domain or using an existing domain.
- If opting for a free domain, enter your desired name and click “Continue.”
- Fill out the necessary details about your website, including a short description that will appear in search results.
Once everything is set, click “Publish” to make your website live! You can now share it with the world.
Generating a Short URL for Your Website
A concise URL is easier for visitors to remember and share. To create one:
- Remove any unnecessary text from the default URL.
- Enter a simple, memorable name for your website.
This short URL will enhance your website’s accessibility and professionalism.
Editing Your Site After Publishing
Even after your website is live, you can continue to make changes. Here’s how:
- Return to the Canva dashboard and select your published website.
- Make any desired edits and republish your website to save changes.
Regular updates will keep your content fresh and engaging for visitors.
Additional Resources
As a website owner, you may find yourself needing content for blog posts, product descriptions, or other written materials. An AI tool called Gravity Write can assist you in generating this content quickly and efficiently. Just answer a few questions, and you’ll receive tailored content that meets your needs.
Conclusion
Creating a simple website for free using Canva is straightforward and accessible. If you’re looking for advanced features and more design options, consider exploring WordPress for your website needs. It’s user-friendly, offers thousands of themes, and allows for extensive customization through plugins.
Whether you choose Canva or WordPress, both platforms can help you establish a strong online presence. Remember to check out the tools mentioned in this guide, and don’t hesitate to explore the links for discounts on hosting and writing assistance.
Frequently Asked Questions (FAQ)
1. Do I need any coding skills to use Canva for website creation?
No, Canva is designed to be user-friendly with a drag-and-drop interface, making it accessible for anyone without coding skills.
2. Can I publish multiple websites using Canva?
Yes, you can create and publish up to five live websites using a free domain on Canva.
3. Is there a limit to the design templates available on Canva?
Canva offers a wide range of design templates across various categories, so you can find one that suits your needs.
4. Can I edit my website after it is published?
Yes, you can make edits to your website even after it has been published. Just return to the Canva dashboard, make your changes, and republish.
5. What should I do if I need advanced features for my website?
If you require more advanced features, consider using WordPress, which offers extensive customization options and plugins for various functionalities.
Useful Links:
https://duogeeks.com/services/website-design/


