Starting an e-commerce business might seem daunting, but with the right tools, it can be incredibly straightforward. This guide will walk you through the process of creating an online store using WordPress and WooCommerce in just 15 minutes. Whether you’re looking to sell one product or thousands, WordPress offers the flexibility to scale your business as needed.

Why Choose WordPress for E-commerce?
WordPress powers about 40% of the entire internet, making it an excellent choice for your e-commerce site. It allows you to start small with a simple template and grow into a comprehensive online store. The platform is user-friendly and can accommodate various types of products, making it an ideal solution for both beginners and experienced developers.
Choosing the Right Hosting
Before diving into building your site, you need to choose a reliable hosting provider. Hostinger is highly recommended due to its affordability, speed, and reliability. They frequently offer promotions, making it easy to get started without breaking the bank.
- Hosting Plans: Hostinger provides several plans, including Premium, Business, and Cloud Startup. The Business plan is often the most popular, offering great value.
- Free Domain: Most plans come with a free domain name when you commit for a year or more.
Setting Up Your WordPress Site
Once you’ve chosen your hosting plan, it’s time to set up WordPress. After signing up, you’ll have access to your control panel where you can install WordPress easily through the auto-installer feature.
Selecting and Installing a Theme
The next step is to choose a theme that suits your brand and the products you intend to sell. Astra is a popular choice due to its versatility and ease of use.
- In the WordPress dashboard, go to “Appearance” and click on “Themes.”
- Click “Add New” and search for “Astra.” Install and activate it.
- Install the “Starter Templates” plugin to access pre-made templates.
When prompted, choose Elementor as your page builder. Select an e-commerce template that you like, and customize it according to your brand’s colours and logo.
Setting Up WooCommerce
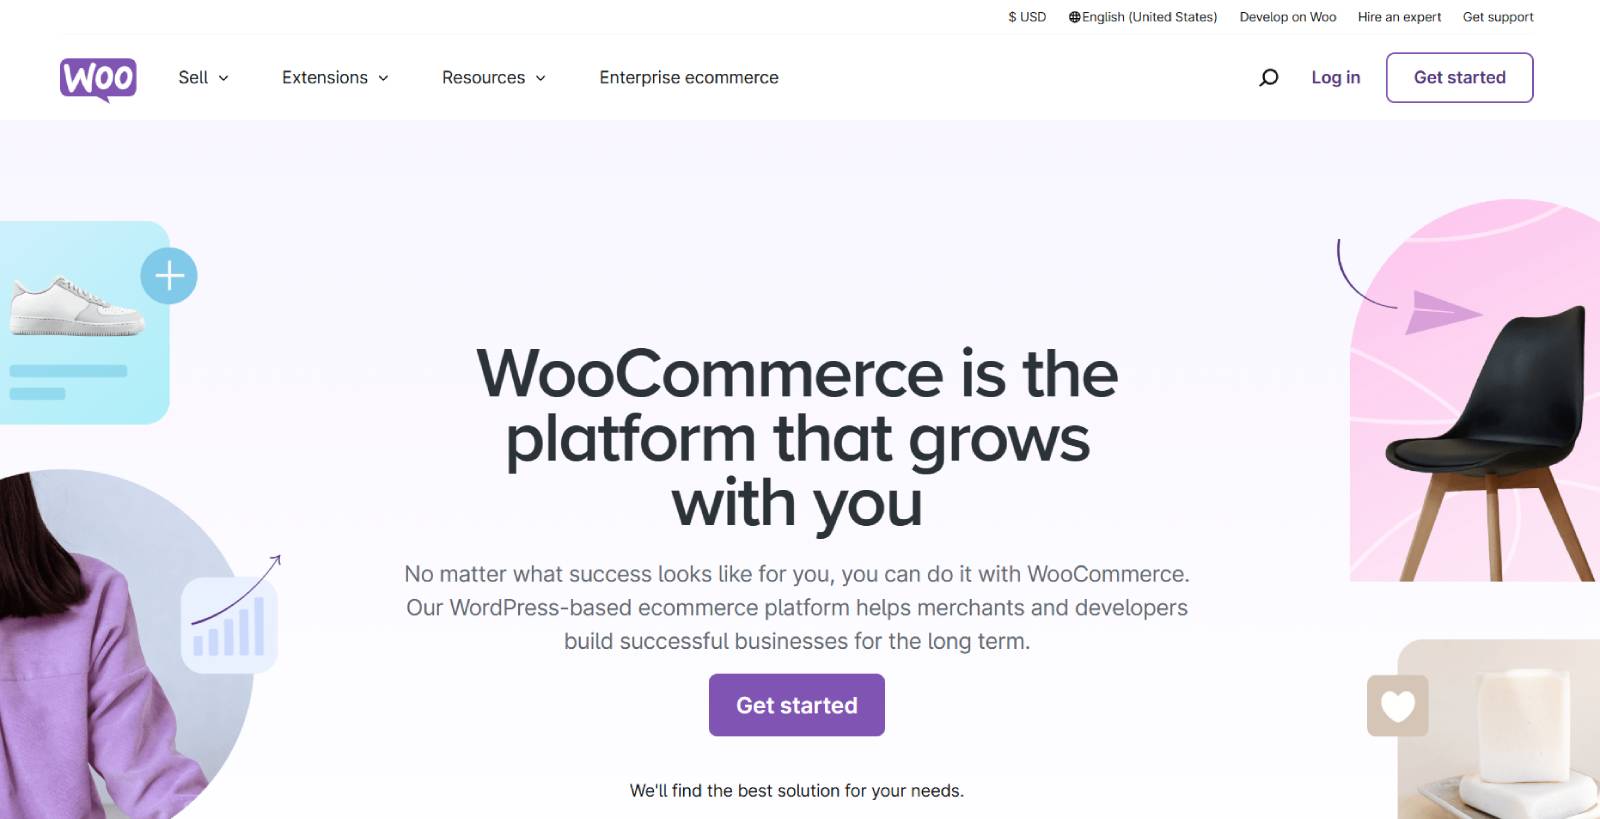
WooCommerce is the plugin that turns your WordPress site into a fully functional e-commerce store. After installing the Astra theme, WooCommerce will be added automatically.
- Navigate to WooCommerce in the left sidebar and click on “Set Up My Store.”
- Follow the prompts to configure your store settings, such as currency, payment methods, and shipping options.
Adding Products to Your Store
Now that your store is set up, it’s time to add your products. In WooCommerce, you can add different types of products, including:
- Simple Products: Single items with no variations.
- Variable Products: Items with multiple variations, like size or colour.
- Grouped Products: Sets of simple products sold together.
- External or Affiliate Products: Products not sold directly through your store but linked to an external site.
To add a product:
- Click on “Products” in the left sidebar and select “Add New.”
- Enter the product name and description. Keep descriptions concise with bullet points for readability.
- Set the product type, price, and inventory details.
- Add product images and categorize your product appropriately.
- Once done, click “Publish” to make your product live.
Setting Up Payment Methods
To start accepting payments, you need to set up payment gateways. WooCommerce supports various payment options, including:
- WooPayments: A straightforward method to accept credit card payments.
- PayPal: A popular alternative payment method.
- Stripe: Another reliable option for credit card processing.
Simply follow the prompts in WooCommerce to enter your banking information, and you’ll be set to start processing transactions.
Creating Essential Pages
Every online store needs certain pages to function properly. These typically include:
- Homepage
- Shop Page
- About Us
- Contact Us
- Privacy Policy
- Shipping Information
You can create and edit these pages using Elementor, ensuring they align with your brand’s style.
Customising Your Store
Once your products are uploaded and pages created, it’s time to customize your store further. You can adjust the layout, add widgets, and modify styles using Elementor’s drag-and-drop functionality.
- Go to “Pages” and select the page you want to edit.
- Click “Edit with Elementor” to start customizing the layout and content.
- Use the Elementor interface to add new sections, columns, and elements like text, images, and buttons.
Testing Your Store
Before launching your store, it’s crucial to test everything. Check that all links work, product pages look good, and the checkout process is seamless. It’s a good idea to place a test order to ensure that everything functions as expected.
Marketing Your Store
Once your store is live, it’s time to start marketing. You can leverage social media platforms, email marketing, and paid advertising to attract customers. Tools like Google Analytics can help track your store’s performance and customer behaviour.
Frequently Asked Questions
How long does it take to set up an e-commerce store?
With the right tools and guidance, you can set up your e-commerce store in as little as 15 minutes.
Do I need coding skills to build an online store?
No, you don’t need coding skills. Platforms like WordPress and WooCommerce are designed to be user-friendly, making it easy for anyone to build a store.
What payment methods can I use?
You can use various payment methods, including credit cards, PayPal, and other payment gateways supported by WooCommerce.
Can I scale my store in the future?
Yes, WordPress allows you to scale your store as needed. You can add more products, features, and even additional services as your business grows.
Conclusion
Building an e-commerce store doesn’t have to be complicated. With WordPress and WooCommerce, you can create a professional-looking online store quickly and easily.
